How do I add custom images to a card square?
Adding custom images to a bingo card square is a straightforward process. Here’s a detailed guide to help you through each step:
Step 1: Choose your card type
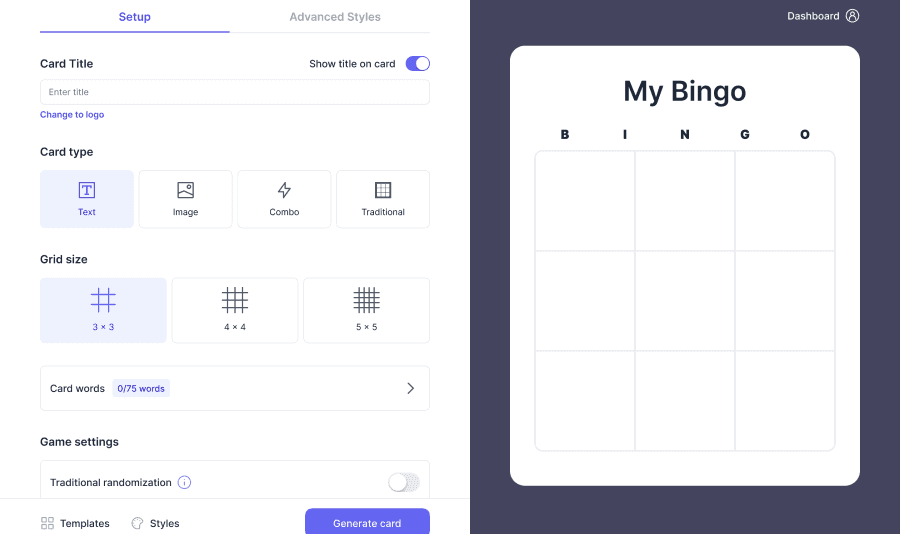
- Navigate to the card generator
- Select 'Image' as the card type: Find the card type options and choose 'Image'. This setting allows you to use custom images instead of text for your bingo squares.

Step 2: Upload your images
- Scroll to grid contents: Scroll down to the section labeled 'Grid contents'.
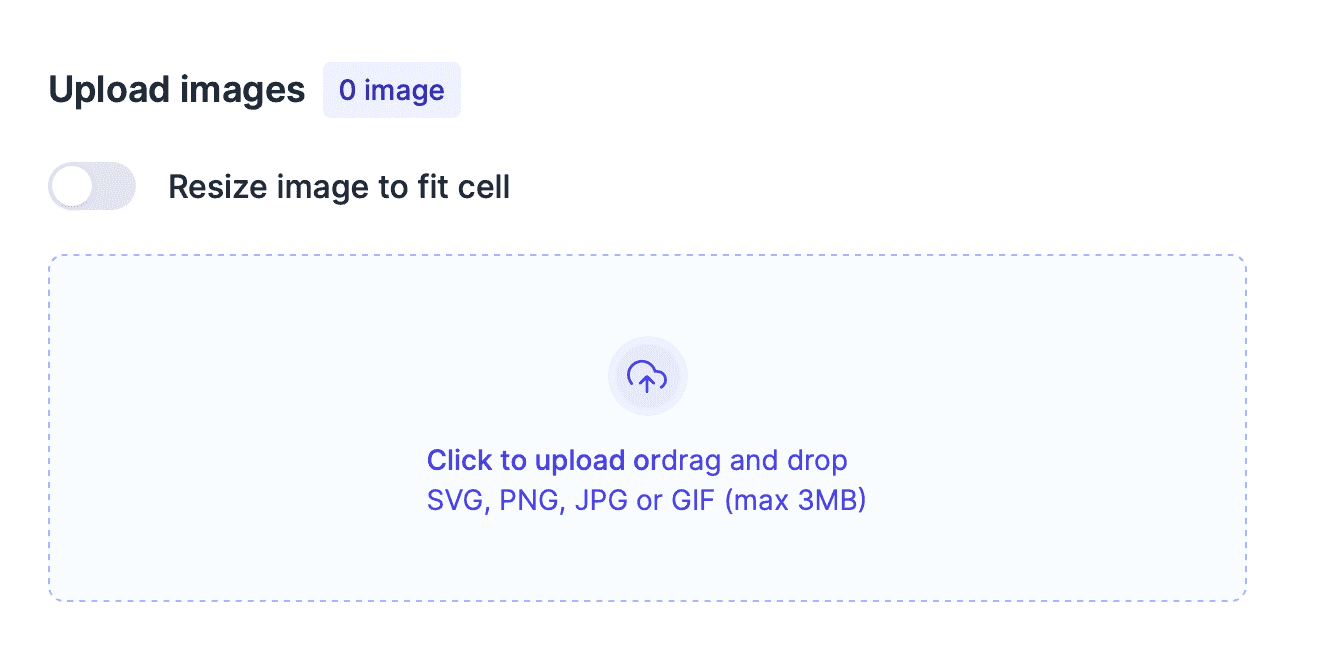
- Choose ‘Card images’: Click on the option for ‘Card images’. This will allow you to add custom images to your card.
- Upload images:
- Select files manually: Click on the option to select image files from your computer. You can browse your folders and choose the images you want to upload.

- Drag and drop images: Alternatively, you can drag images from your folder and drop them into the designated dotted area. This area is typically marked and easy to identify.
- Automatic display: Once uploaded, the images will automatically populate in the bingo squares. You’ll see a preview of how they look on the card.
Step 3: Adjust image settings
- Resize images (optional): For a consistent and clean look, you might want to ensure all images are the same size. Select the ‘resize image to fit cell’ option. This will automatically adjust all images to fit neatly within each bingo square without altering their aspect ratio.

Step 4: Generate your custom card
- Generate card: After uploading and adjusting your images, click on ‘Generate card’.
If you encounter any issues or have questions during the process, don't hesitate to consult the help section or contact support for assistance. Enjoy creating your personalized bingo card!
Was this article helpful?
Related articles
Browse allStill have questions?
Haven't you found what you're looking for in our support area? Contact us by selecting the button below.
Contact us

