How do I change my subscription?
Changing your subscription is a straightforward process that allows you to adjust your plan according to your needs. Here's how you can do it:
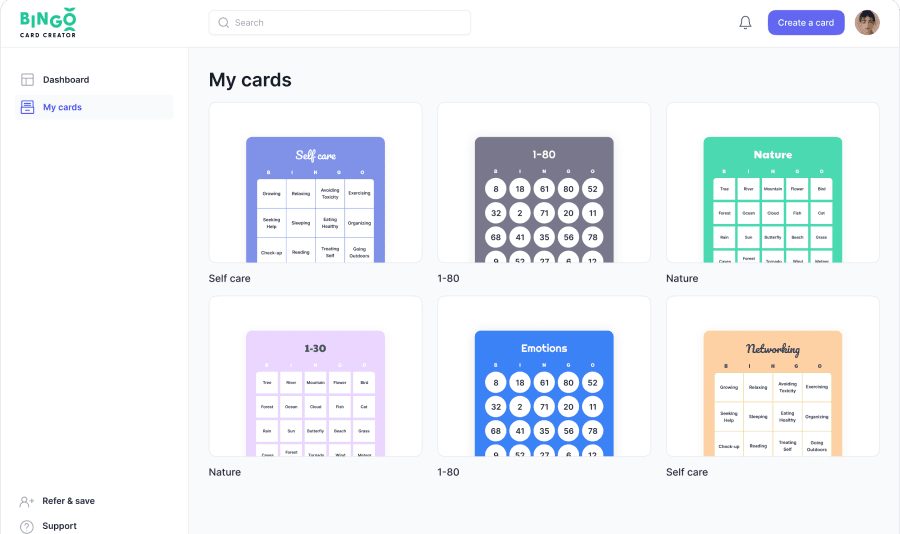
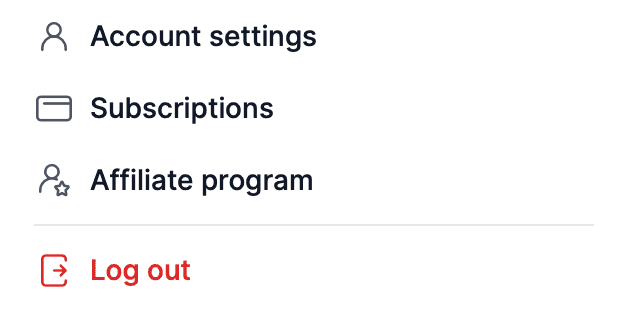
Access the Dashboard: Click on your user icon located at the top right corner of the screen. This action will reveal a dropdown menu, providing you with various options related to your account.

Select 'Manage Subscription': Within the dropdown menu, you'll find the 'Subscription' option. Clicking on this will take you to a page where you can view details about your current subscription plan. You can also follow this link here.

Manage Your Plan: On the subscription page, look for the 'Manage Plan' option. Here, you'll find information about your current plan, payment methods, billing details, and past invoices. This section is your go-to for changing your plan tier, or adding add-ons to your subscription.
Select 'Update Plan' for Changes: If you're looking to change your subscription level, click on 'Update Plan'. You'll have the option to switch to a monthly plan, a plan that bills every 6 months, or an annual plan. This is also where you can explore add-ons to enhance your subscription.
Cancel Your Plan: To cancel your plan, rather than select 'Manage Subscription' shown above, select the cancel button and go through the steps in the pop-up that displays.
Add-ons:
Enhancing your bingo card creation experience is easy with our selection of add-ons. Here’s how you can add them to your subscription or remove them whenever you wish:
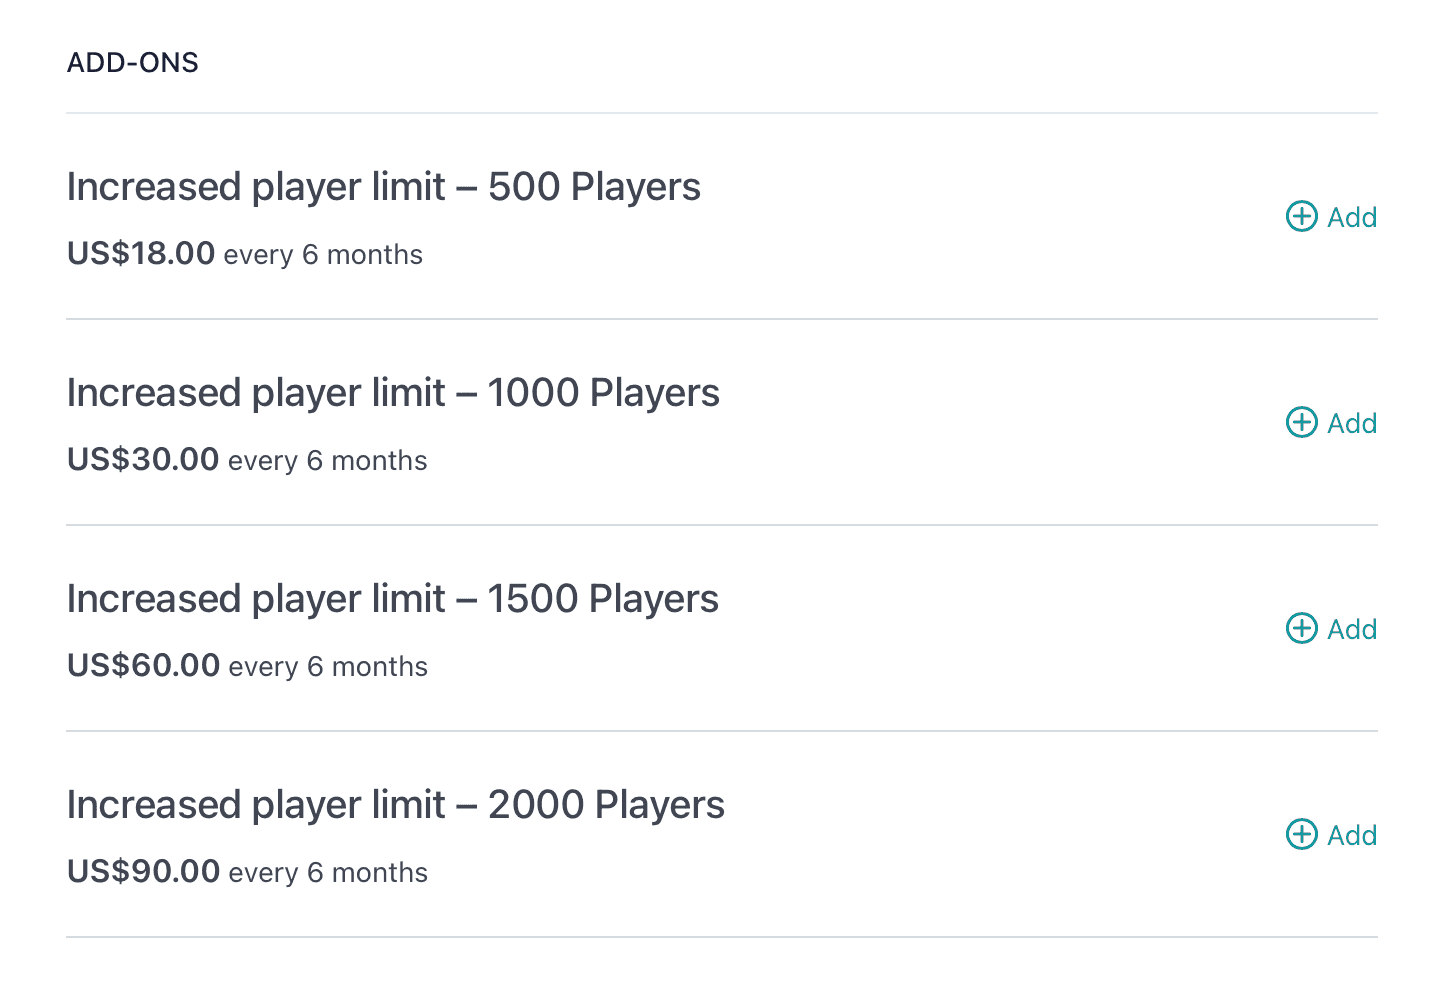
- Explore Add-Ons: In the same area where you can update your plan, you'll also see the add-ons available. Add-ons include access to our AI bingo generator and increasing player limits.
- Select and Add: Once you’ve found the add-ons that you’re interested in, simply select the ‘Add’ option for each one. This action will attach the selected add-ons to your current subscription, instantly broadening your bingo card creation capabilities.
- Removing Add-Ons: We understand that your needs may change over time. If you find that an add-on is no longer necessary, you can remove it just as easily as you added it. Look for the option to manage your add-ons in your account settings, and select the ones you wish to remove.

Finalize Your Changes: After making your selection, click the 'Continue' icon located at the bottom right of the page. This will save your modifications.
Remember, you have the flexibility to adjust your plan as your needs change, whether that's scaling up for more features or scaling down if you need less. If you have any questions or need further assistance, don't hesitate to reach out to customer support. Happy subscribing!
Was this article helpful?
Related articles
Browse allStill have questions?
Haven't you found what you're looking for in our support area? Contact us by selecting the button below.
Contact us
